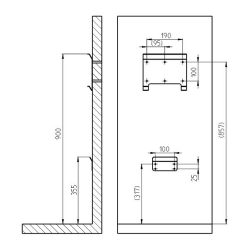
Connection to a Waste Line
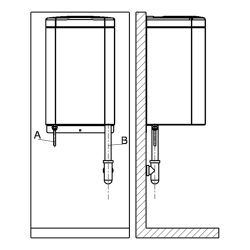
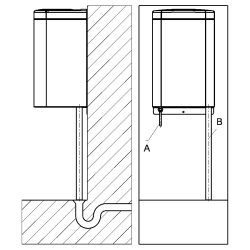
A – Power cord – length 2.5 m
B – Drain hose – length 0.7 m
Inner diameter 25 mm
Outer diameter 31 mm
Installation must be completed in accordance with all applicable local plumbing codes and regulations. If in doubt, consult a qualified plumber.
Shorten the drain hose (B) according to the position of the waste point. The hose must not be bent or twisted and must always slope downwards in order to provide adequate water disposal. Not following this instruction could result in the insufficient flow of water which could cause unpleasant odours and damage to the product.
Insert the drain hose into the waste point. If in doubt, consult a qualified plumber.
Connection to a Floor Drain
Installation must be completed in accordance with all applicable local plumbing codes and regulations. If in doubt, consult a qualified plumber.
The drain hose (B) can be connected to or placed near a floor drain.
Shorten the drain hose according to your needs, ensuring that the hose is not bent or twisted. The drain hose must be placed in such a way that it does not create an obstacle for people walking by.
In the case where the drain hose is in the vicinity of a floor drain, as opposed to directly above, or directly connected, it is recommended that the hose end is cut to an angle of 45° to maintain a free flow of water and to prevent blockage. (This type of waste scenario should ONLY be used in places where people expect water to be on the floor).
Connection to a Water Container
Installation must be completed in accordance with all applicable local plumbing codes and regulations. If in doubt, consult a qualified plumber.
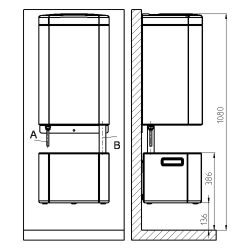
The drain hose can be connected to a SuitSpin water container which would be connected to the wall underneath the dryer.
The capacity of the water container is 18 litres and it needs to be emptied manually.
After installation of the dryer and water container, shorten the drain hose so that it extends 50-100mm below the top of the water container. Place the drain hose through the hole in the top of the container and ensure it is not bent or twisted. The hole within the container will hold the hose in place.
This installation is ONLY suitable for walls which will hold a minimum of 50kg hanging weight.

